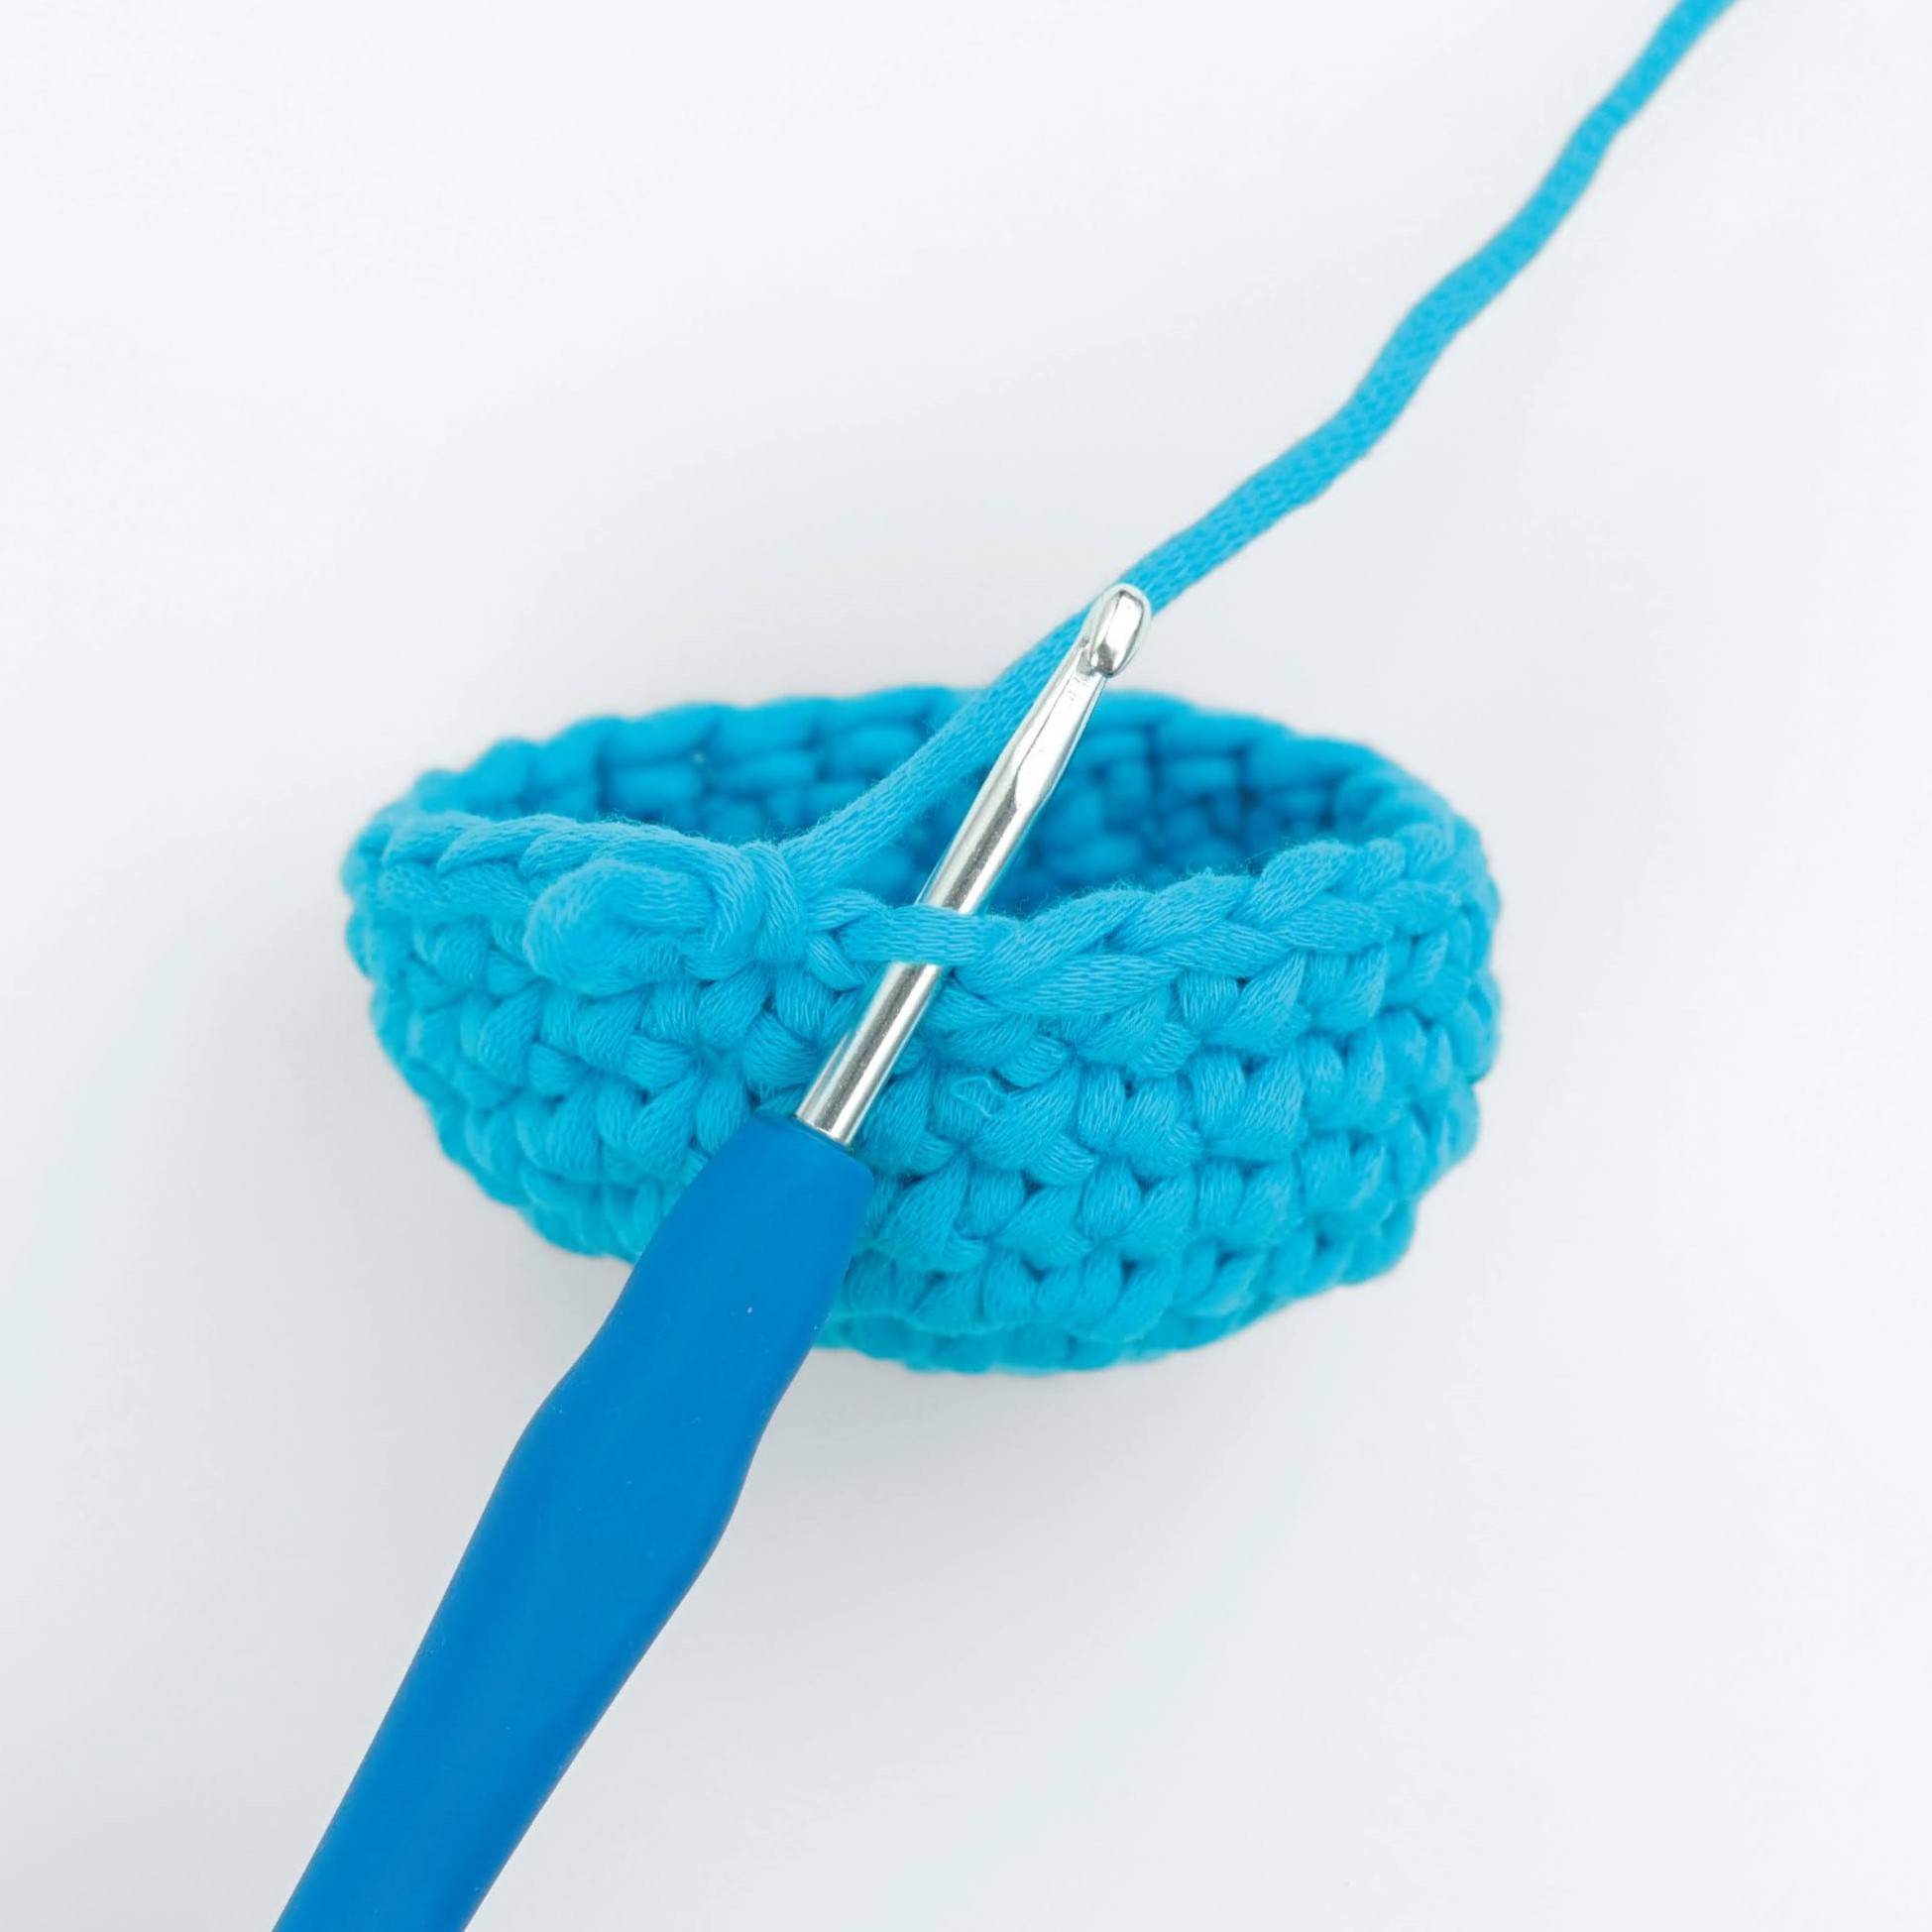
Parts of a crochet stitch for lefties
When you’re new to crocheting, you’ll probably ask yourself: “where, oh where does my crochet hook go next?” after almost every stitch you make. Unless a pattern says otherwise, put the hook under both top loops. Sometimes a pattern might tell you to put the hook through the front loop only (flo) or back loop only (blo). To do that, first make sure the “right side” of your piece is facing you. Then insert the hook under only one of the top loops. The loop closer to you is the front loop, and the loop further from you is the back loop.
CROCHET THROUGH BOTH LOOPS
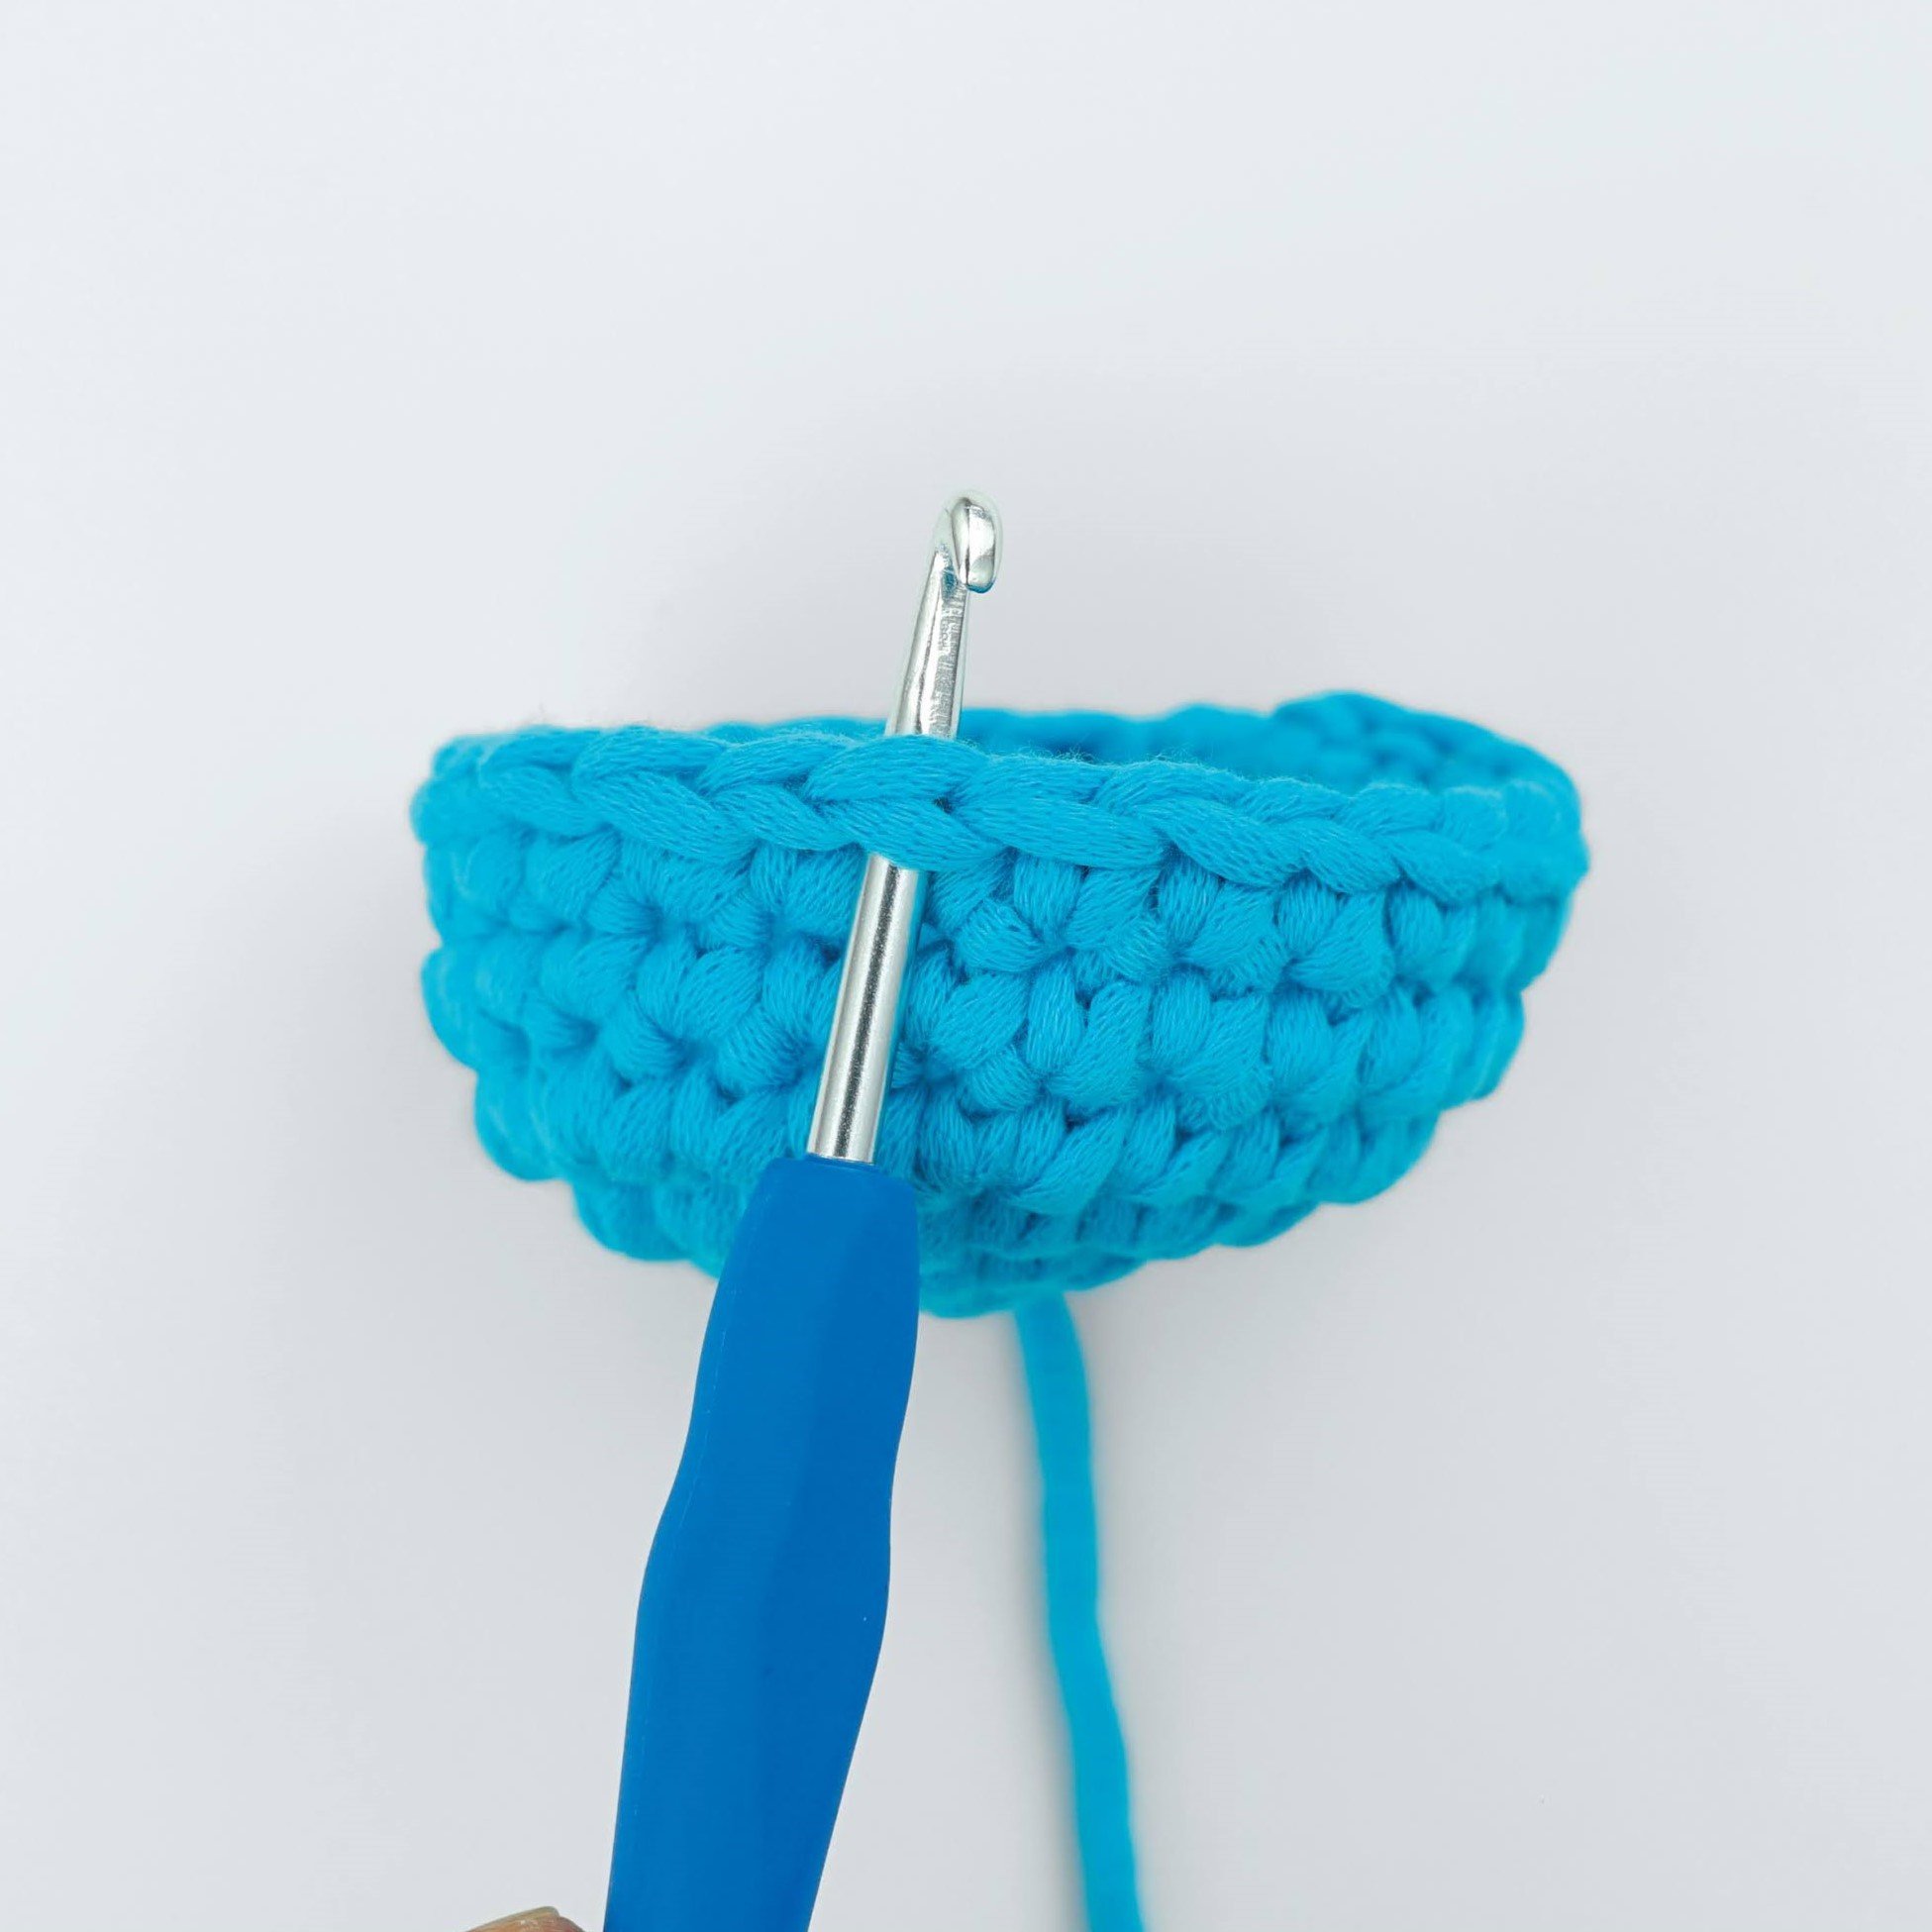 Unless the pattern says otherwise, start a new stitch by inserting the hook under both top loops. Unless the pattern says otherwise, start a new stitch by inserting the hook under both top loops. |  This creates an even look throughout your work. This creates an even look throughout your work. |
CROCHET THROUGH FRONT LOOPS ONLY (TFLO)
 With the right side of your work facing you, insert the hook under only the front loop. With the right side of your work facing you, insert the hook under only the front loop. |  This will create a ridge on the wrong side of your work. This will create a ridge on the wrong side of your work. |
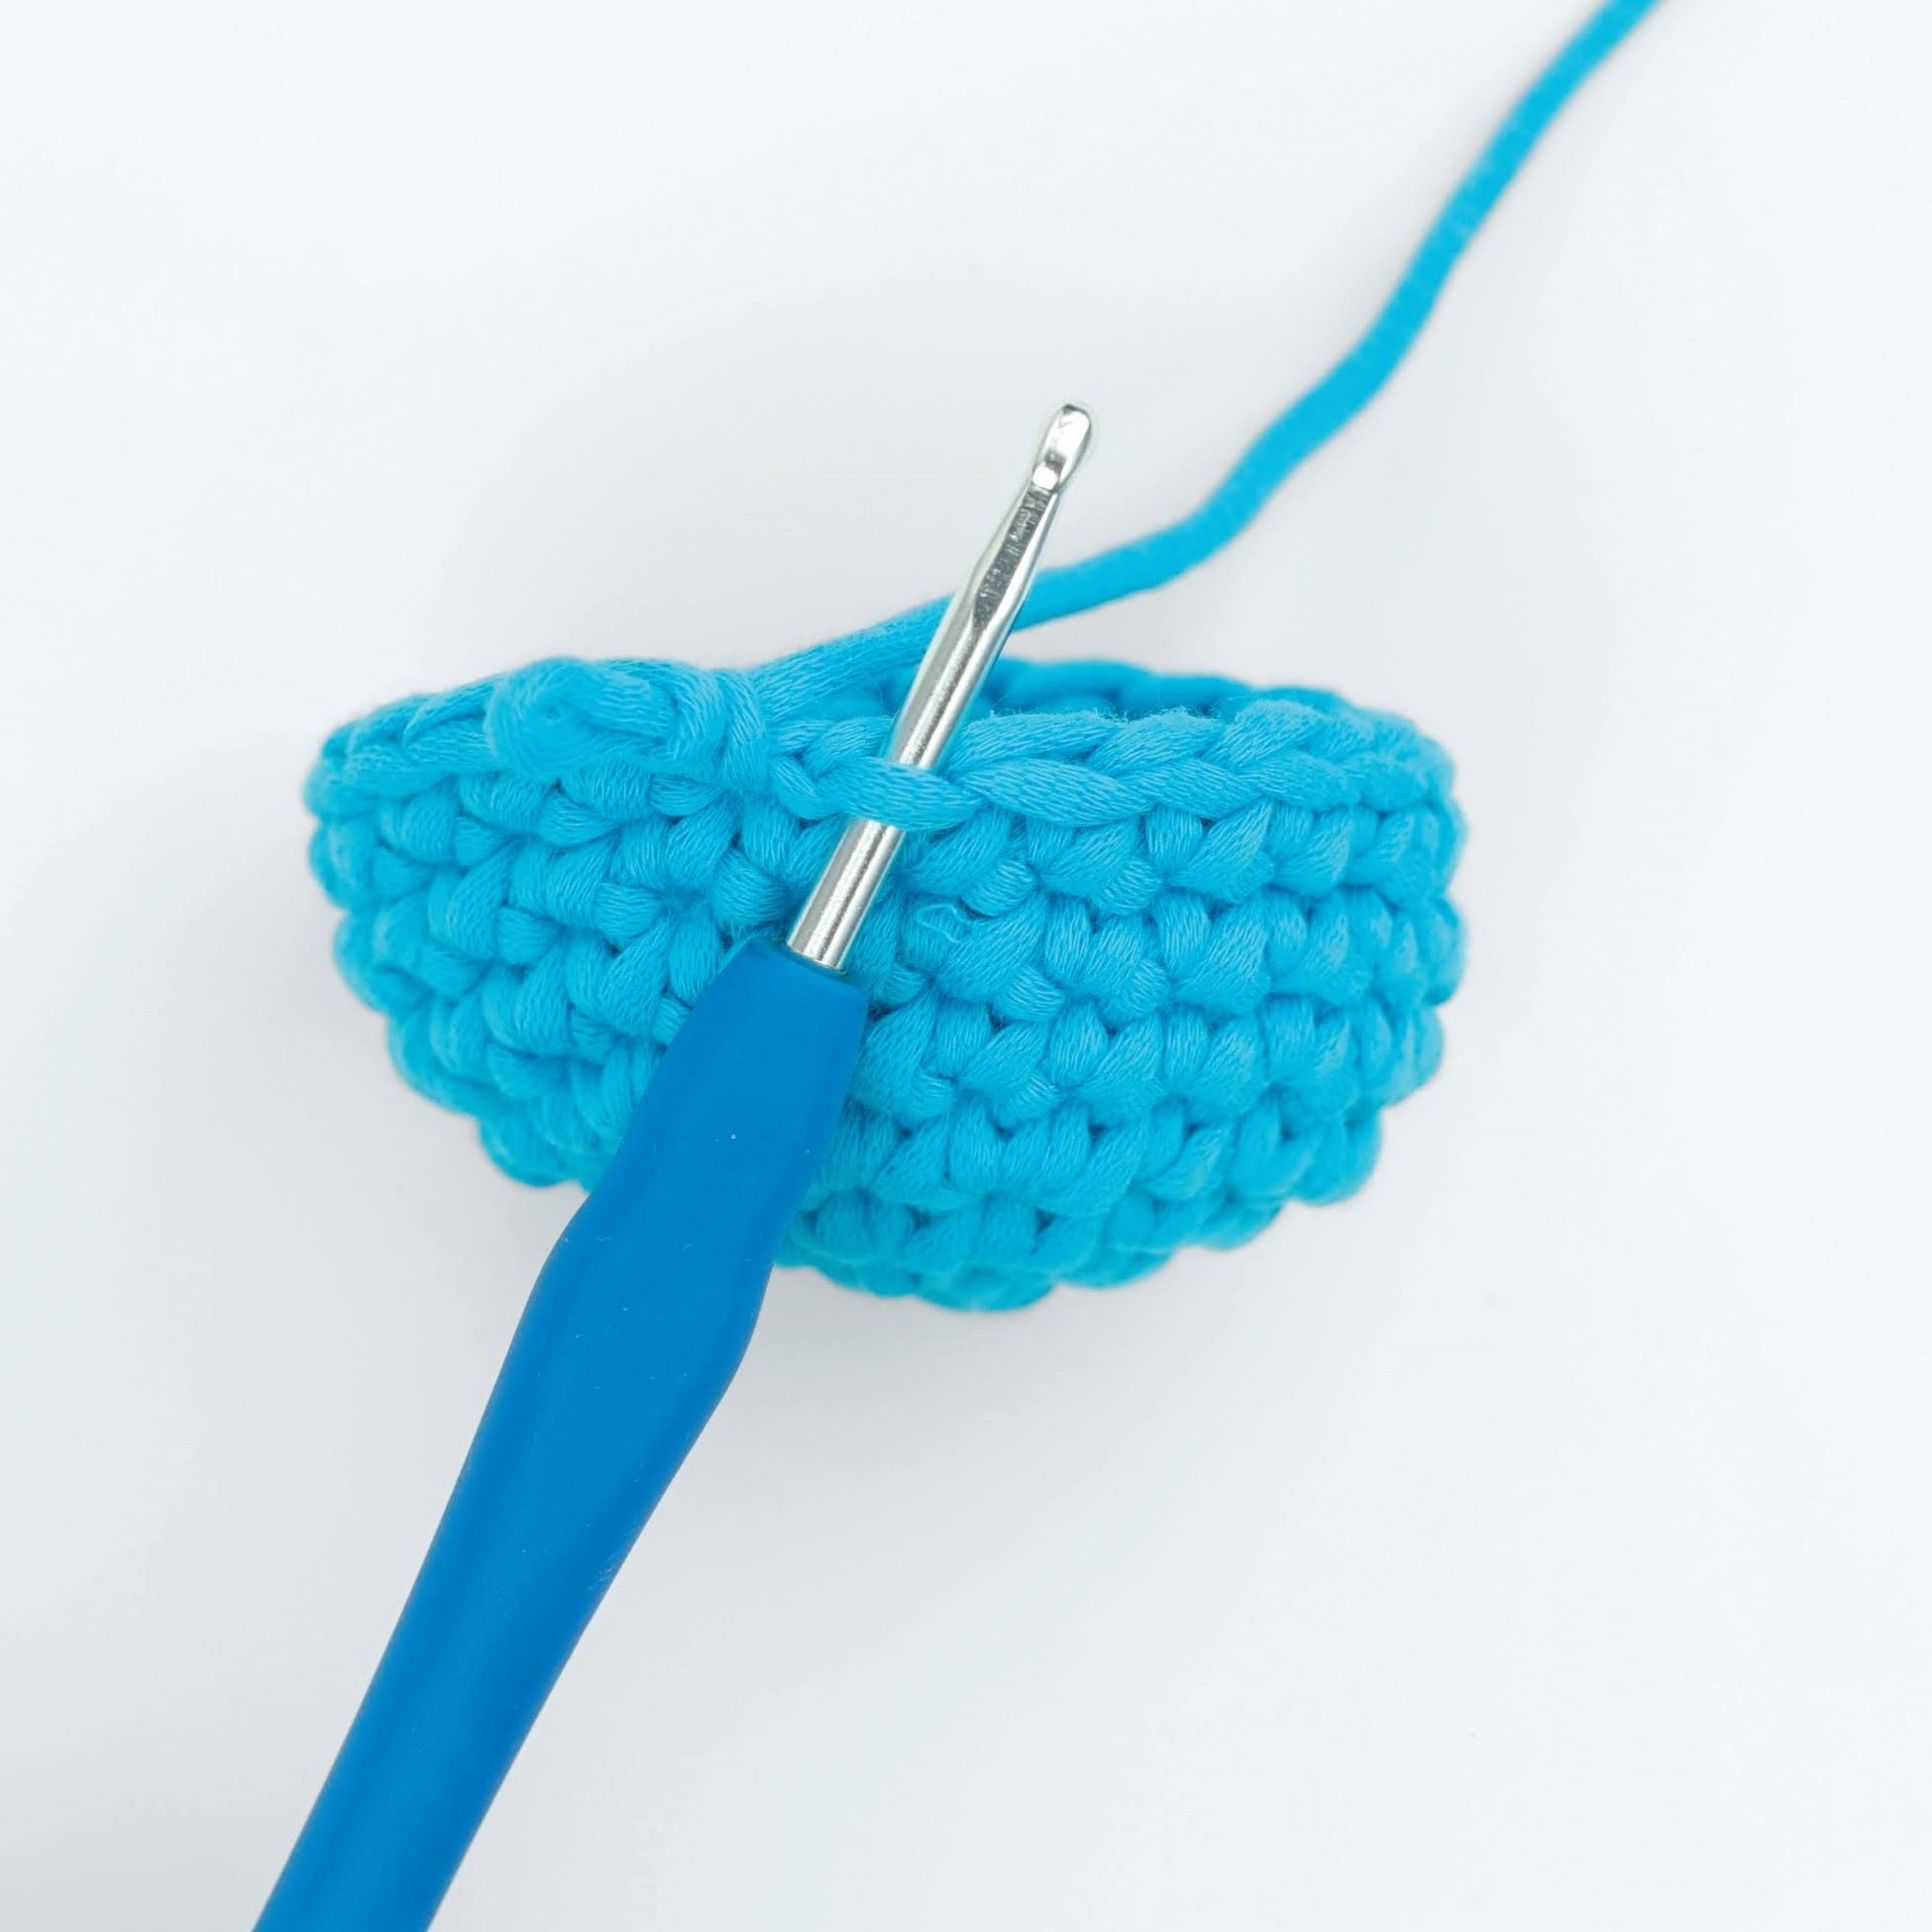
CROCHET THROUGH BACK LOOPS ONLY (TBLO)
 With the right side of your work facing you, insert the hook under only the back loop. With the right side of your work facing you, insert the hook under only the back loop. |  This will create a ridge on the right side of your work. This technique is often used to make it easier to then attach content to the remaining front loops. This will create a ridge on the right side of your work. This technique is often used to make it easier to then attach content to the remaining front loops. |
How do you tell where to insert your hook into next? If you’re right-handed, the next stitch is to the left of the one you just completed. If you’re left-handed, the next stitch is to the right. Either way, with the right side of your piece facing you, a completed stitch looks like a vertical V. To find where to insert your hook to create the next stitch, look at your piece from the top down and look for the next horizontal V.